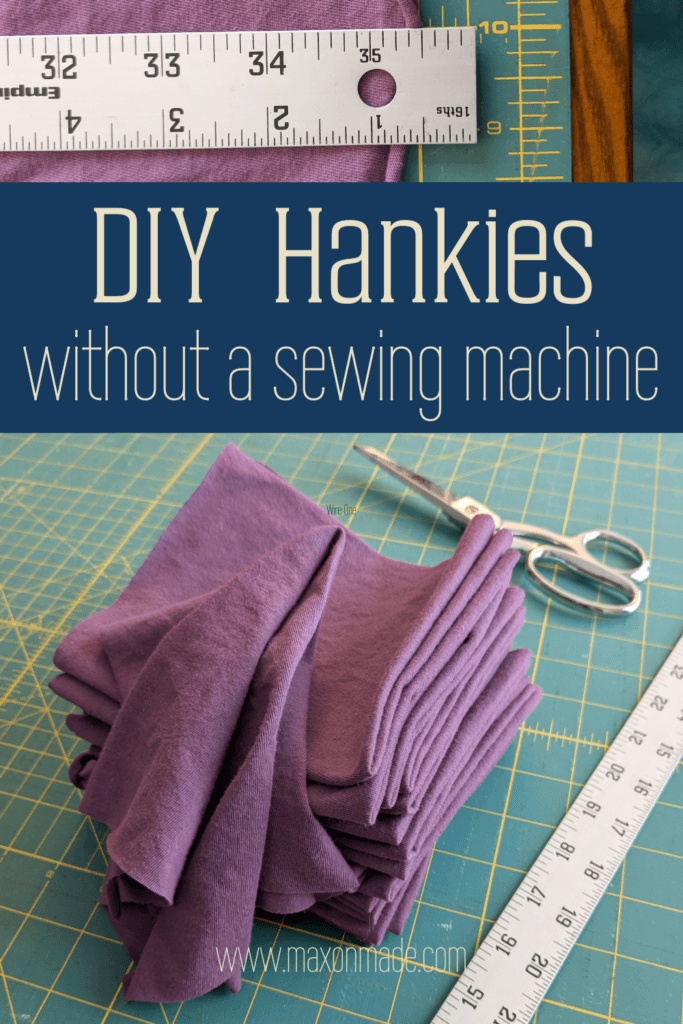
DIY Hankies Without A Sewing Machine
Make the softest DIY hankies without a sewing machine or even any hand stitching. The trick is finding the right fabric, but once you do, it’s as easy as measuring and making a few cuts. This easy project is perfect for beginners or busy parents looking for a sustainable solution.
This post may contain affiliate links. Please read our disclosure policy.
Why Should You Make Your Own DIY Hankies?
Making your own DIY hankies is environmentally friendly and cost effective. Did you know tissues contribute to millions of tons of waste each year? A reusable alternative like hankies reduces this impact significantly.
I liked the idea of cloth handkerchiefs, but had never found one I liked. They were all too thick and too scratchy. They’d leave my nose sore, and I’d always end up wanting to use and throw away plain old paper tissues. They didn’t feel much better, and I like to avoid buying things just to throw them away, so I was determined to find a homemade solution.
Then, when my first baby got her first runny nose, I was motivated to find the perfect fabric that felt soft and absorbent for her! I discovered a really thin woven cotton worked well, but the hemming was a waste of my precious time. So, I began my search for a thin knit.
What fabric do I use?
Look for fabric that’s thin and lightweight, similar to a soft, well-worn t-shirt.
- less than 3 oz/yd: Ultra-thin and soft but might saturate quickly.
- 3-5 oz/yd: A perfect balance of softness and absorbency.
- over 5 oz/yd: This weight seems to be too thick for a hankie. Most regular t-shirts are 5.3 oz/yd.
It was hard to find, but eventually I learned that anything between about 3oz/yd to 5oz/yd seemed to fit the bill. The thinner the fabric, the easier it is to get it into little nostrils.
If you have or can find plain old thin t-shirts at the thrift store to repurpose, you could cut those up instead!
Make sure the fabric you choose is 100% cotton. Polyester won’t absorb as well.
I chose a 4.7oz/yd and I think it’ll work just fine. It’s a little thick, but the last time I cut these hankies out of a yard of really lightweight knit fabric, I found some that was lighter than this with no oz/yd listed, and although it was very soft, it was quite thin and became quickly saturated when I had a very runny nose.
This time, I’m using this very nice 100% Organic Cotton Light Jersey Fabric from Organic Cotton Plus on Amazon. I let my 2-year-old choose the color, and she picked out this pretty pinkish-purple called Hyacinth.
How Do I Make DIY Hankies From A Yard Of Knit Fabric Without Using A Sewing Machine?
If you buy one yard of knit fabric, you’re getting one linear yard (36 inches) measured along the selvage edge, regardless of how it’s folded. Knit fabric yardage sometimes comes in a loop.
Depending on how big you’d like your hankies, you could get 12-18 decently sized squares out of this one linear yard, and that’s enough for every coat pocket and spares for pockets and the wash.
One fun idea is to get a different color for every member of your family. That way it would be easy to sort out of the laundry and keep track of whose is whose, if that matters to you.
- Wash and dry your fabric if you haven’t already. This removes any sizing used during manufacturing, shrinks it up, and makes your soon-to-be hankies nose ready right after cutting.
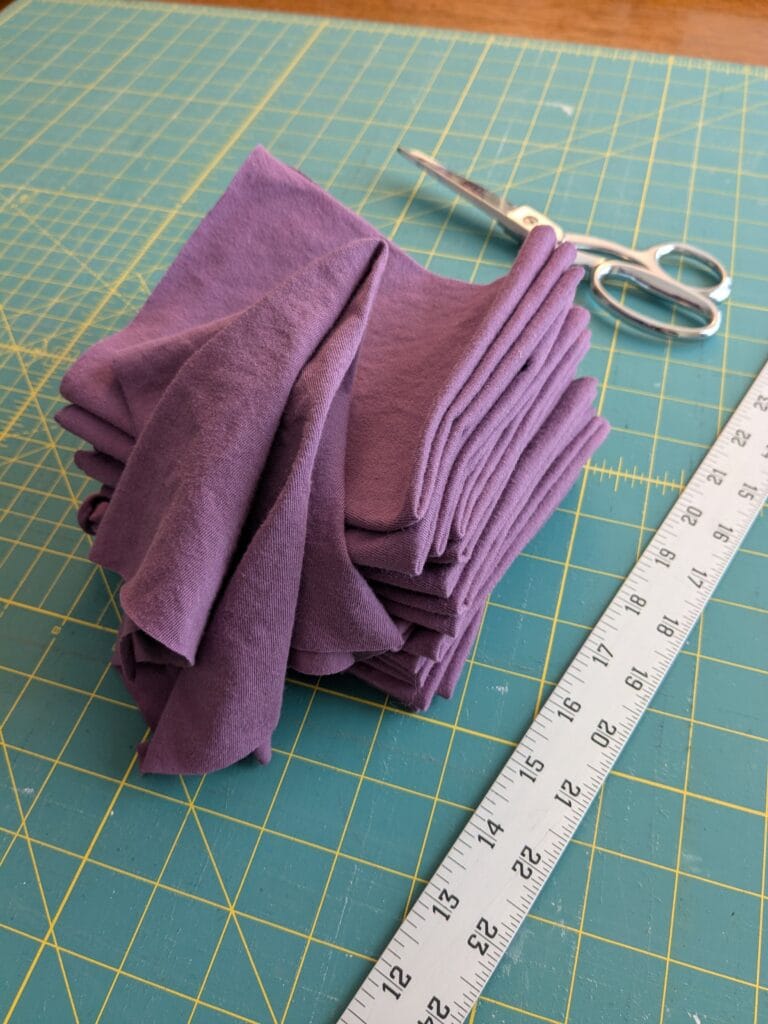
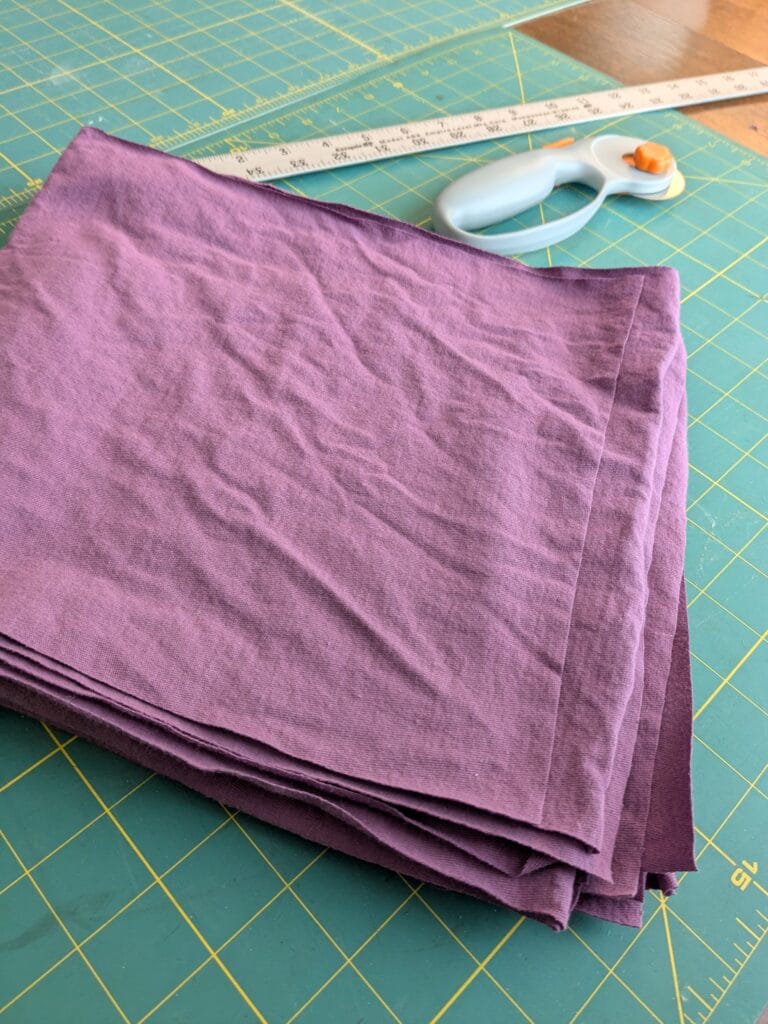
- Gather your supplies and lay fabric out on a big open surface.
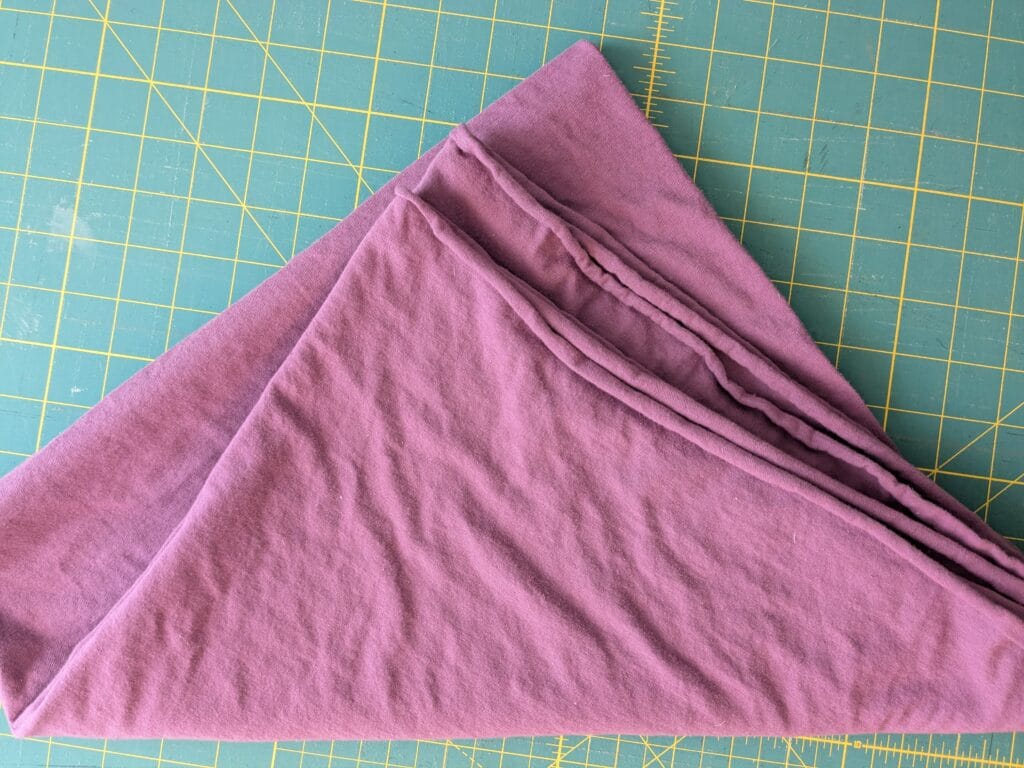
- Measure your fabric. If the fabric comes in a big loop, just keep it together to measure your squares and cut an even number, or cut a slit into one side to make it a flat sheet if your measurements work out better to make an odd number across.
- Divide into your ideal size squares, and cut! A handy-dandy rotary cutter and cutting mat make this a lot faster, but a scissors works just fine too. It doesn’t have to be perfect.
- You should now have at least a dozen squares of fabric cut out. No need to hem. Just add them to any pocket or purse where you will need them!
Supplies Needed For DIY Hankies:
- pre-washed, lightweight 100% Organic Cotton Jersey – like a thin t-shirt, between about 3oz/yd to 5oz/yd
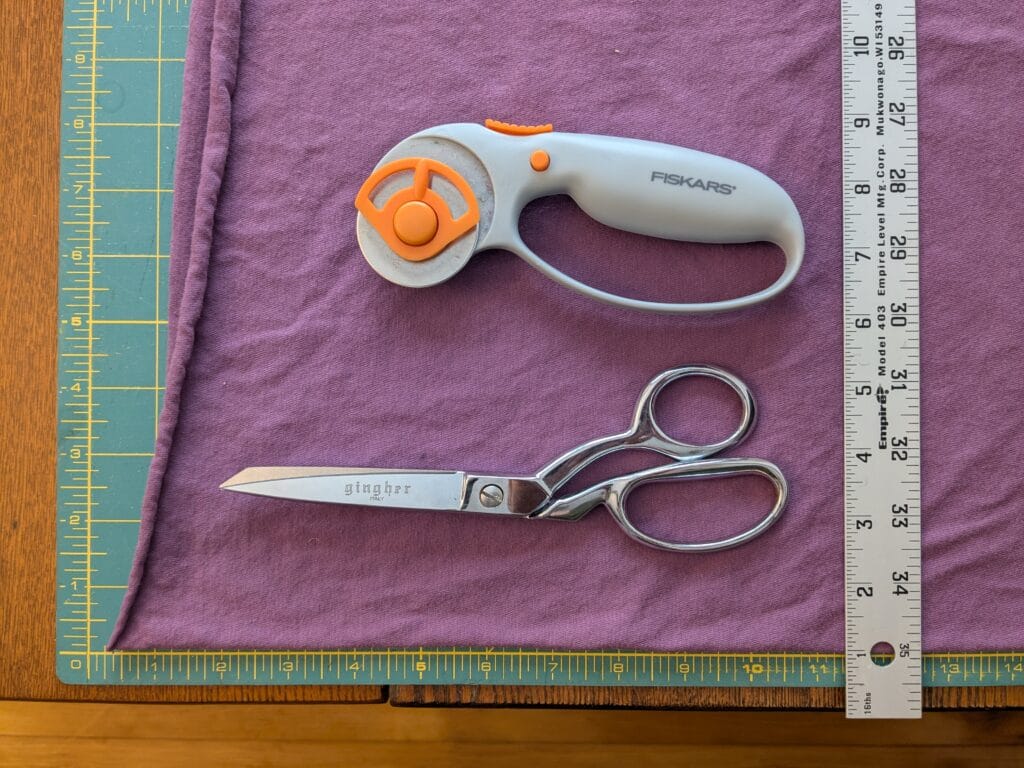
- a ruler, if you don’t want to eyeball it
- a scissor OR rotary cutter and cutting mat
Instructions For Cutting DIY Hankies
- Wash and dry your fabric.
- Lay it flat on a surface.
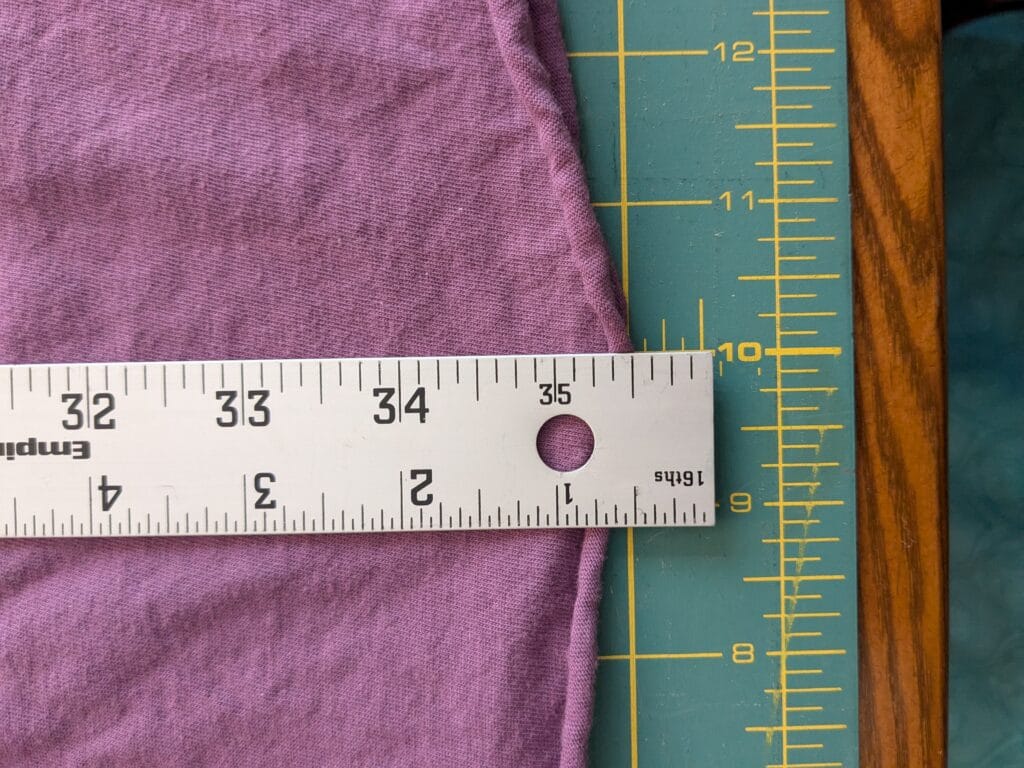
- Measure and mark your squares.
- Cut into squares using scissors or a rotary cutter.
Do I Have To Finish The Edges?
No! Isn’t that great?! This is such an easy project because tightly knit t-shirt fabric doesn’t fray. Wash after wash, it’ll come out the same, with a little rolled edge along the top and bottom edge.
Ready To Make Your Own Hankies?
At Maxon Made, we’re all about creating simple, sustainable solutions for modern families. Are you ready to ditch disposable tissues for good? Show us your hankie creations and share your tips in the comments!
Pin It For Later


You’ll love this easy project! Any questions? Write them here, and I’ll get back to you as soon as possible!
I love this! A fun and easy project that even my kids would enjoy doing together.
Yes! It’s very kid friendly!
What a great project and good for the environment. Nice tutorial.
Thanks!
Love this project. I’m always looking for a good DIY! Thank you for sharing.
You’re welcome!
What a fun project! These would make the perfect gift!
That’s a great idea!
Loveeeee this idea! I never thought of doing DIY hankies. Thank you for sharing!
You’re welcome!